You can Upload Custom Fonts on Squarespace Now!
Squarespace just rolled out a long-awaited feature that’s going to be a total game-changer . You can now upload your own custom fonts directly in the platform!
Until now, if you wanted to use a font outside of Squarespace’s native collection, you had to rely on a developer to embed it through custom CSS. But not anymore! The new Custom Font Upload tool makes it simple for anyone to add brand fonts and apply them seamlessly across the site - no coding needed.
Here’s how to do it step by step
How to Upload Your Custom Font on Squarespace
Get your licensed font file.
Make sure your font is web-ready in one of these formats:
.ttf,.otf,.woff, or.woff2.
Double-check that you have the proper web license. Licensing terms can vary depending on the foundry or marketplace where you purchased it.Open the Squarespace Site Styles panel
In the editor, click the paintbrush icon (top-right corner in Squarespace 7.1) to open Site Styles → Fonts.
Choose the category you want to update — Headings, Paragraphs, Buttons, etc.Upload your font
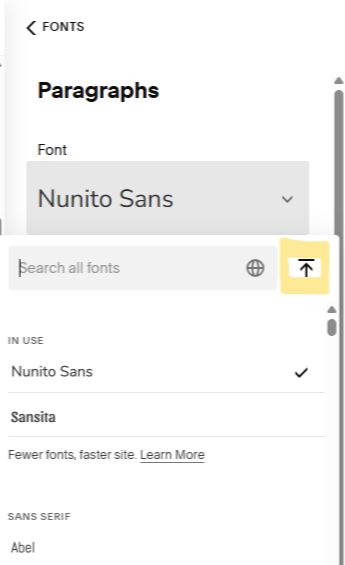
Click on the current font to open the dropdown, then hit the Upload button (highlighted in yellow in the screenshot).
Use the “+” icon to select your font file from your computer, or simply drag and drop it into the window.Apply and assign
Once uploaded, the new font will automatically apply to your selected category.
For more granular control, head to Assign Styles (the last option under Fonts) to map your uploaded font to specific site elements.
And that’s it! 🎉 Your brand font is now fully integrated into your Squarespace site without any additional CSS.
This update opens up endless possibilities for brand consistency and design flexibility, making Squarespace even more powerful for creators and small businesses who want their websites to truly reflect their unique visual identity.